Most website projects slow down for the same reason: the owner and the designer have different pictures in their heads. A clear website brief fixes that. It is a short document that explains your business, your goal and what you need, so a web designer can quote, plan and build without guessing. This guide shows how to write a simple website brief for your small business in Sri Lanka, even if you have never done one before.
You do not need technical words. If you can describe your customers and your business in plain language, you can write a good brief.
What a website brief is, and why it saves time
A website brief is one or two pages that answer a few questions: what is the website for, who is it for, what should it contain, and what happens after it goes live. Without a brief, a designer has to ask all of this during the project, and changes late in the work usually cost more time.
A website brief also helps you compare designers fairly. When you send the same brief to two or three people, you can see how each one understands your business.
Step 1: Write your goal in one sentence
Start with the main job of the website. Choose one main goal and one or two smaller ones.
- Get phone calls or messages from new customers
- Collect enquiries through a contact form
- Sell products online
- Show your work and build trust with larger clients
Example: “The main goal is to get enquiries from local customers who find us on Google.” Keep the sentence honest and specific to your business.
Step 2: Describe your customers
Write a few lines about who you want to reach. Where are they, what do they usually ask you, and what worries them before they buy? Which language do they read: Sinhala, Tamil, English or a mix? Tell the designer if you need more than one language, because it affects the design and the budget.
Step 3: List the pages you need
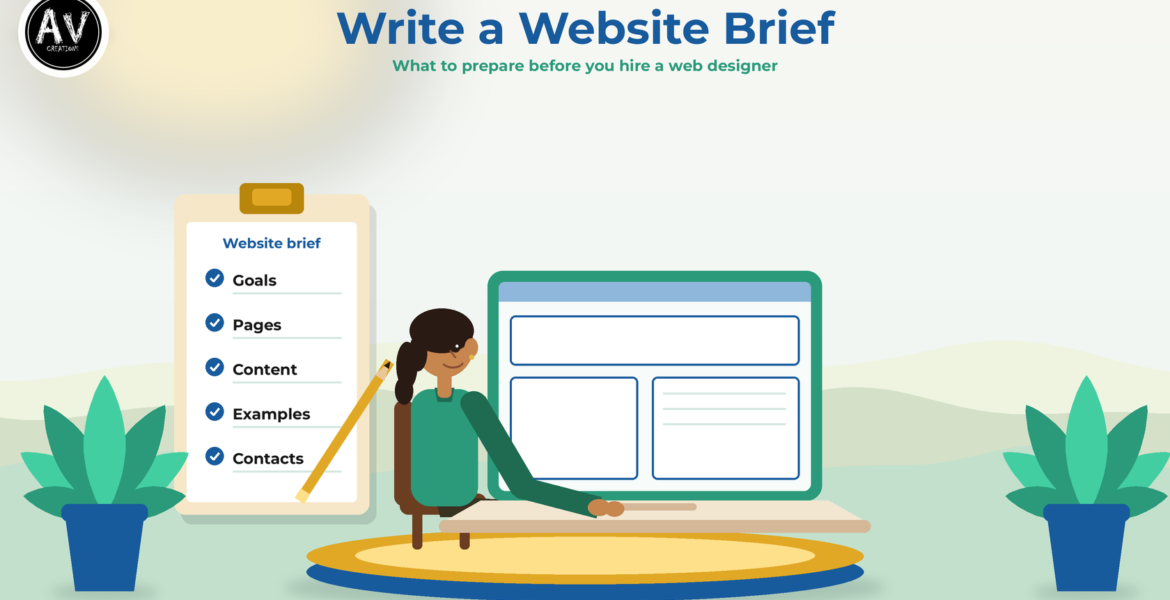
For most small businesses, a good first version of a website brief lists these pages:
- Home: who you are and what you do, in a few lines
- About: your story and the people behind the business
- Services or Products: what you offer, with a short description of each
- Contact: phone, address, map, email and a short form
Add extra pages only when they have a clear purpose, such as a gallery, a price guide or frequently asked questions. A smaller website that is finished is better than a large one that is half empty.
Step 4: Gather your content before the design starts
Content is the most common cause of delay. Put these items in one shared folder:
- Your logo, in the best quality you have
- Your business name, address, phone numbers and email, written exactly as you want them shown
- Text for each page, even a rough draft
- Photos of your products, premises or team
- Any policies you need, such as delivery or returns
Use your own photos where you can. If you use images from other people, check that you have permission. Creative Commons licences are one way creators allow reuse, and each licence has its own conditions, so read them before you use a picture.
Google also advises writing helpful, reliable, people-first content. In plain terms, write for your customers first, and answer the questions they really ask.
Step 5: Show examples you like and dislike
Send three or four websites you admire, and say what you like about each one: the colours, the layout, the way the menu works. Do the same for one or two you dislike. This takes ten minutes and saves a lot of back and forth. Copying another business is not the goal. The goal is to show your taste.
Step 6: Sort out your domain, hosting and email
Tell the designer what you already have. Do you own a domain name? Who registered it, and do you have the login details? Do you have hosting? Do you want business email on your own domain? Make sure the domain is registered in your business’s name and that you hold the account details, so you are never locked out of something you pay for.
Step 7: Share your budget range, timeline and decision maker
Be open about your budget range and your deadline. A designer can then suggest what fits, rather than quoting for something you cannot afford. Name one person who approves designs and text. Projects slow down when three people give three different opinions.
Step 8: Plan for life after launch
A website is not finished on launch day. Ask in your website brief who will update text and photos, how backups and security updates are handled, and who to call if something breaks. Also note that search results take time. Google’s SEO Starter Guide says to wait a few weeks to judge whether your changes helped, and nobody can promise rankings.
How our process uses your website brief
Our About page describes our process in four steps. We start with planning, where we discuss your requirements and suggest a plan. Then comes design of the front-end screens and colours. After the design is confirmed we develop the back end, and finally we adjust the small changes and deliver the project. A good website brief makes the first step much quicker.
A simple website brief template
Copy these headings into a document and fill each one in with one or two lines:
- About my business
- Main goal of the website
- My customers and the languages they read
- Pages I need
- Content I already have, and who will write the rest
- Websites I like and dislike
- Domain, hosting and email I already have
- Budget range and deadline
- Who approves the work
- Who will update the website after launch
Need help writing your brief?
If you would like a hand, AV Creations is in Kadawatha, at 164/2/i Kandy Road. Contact us or call +94 77 958 7751, and we can talk through your website brief together. You can also read about our services and browse our portfolio to see the kinds of projects we have worked on.